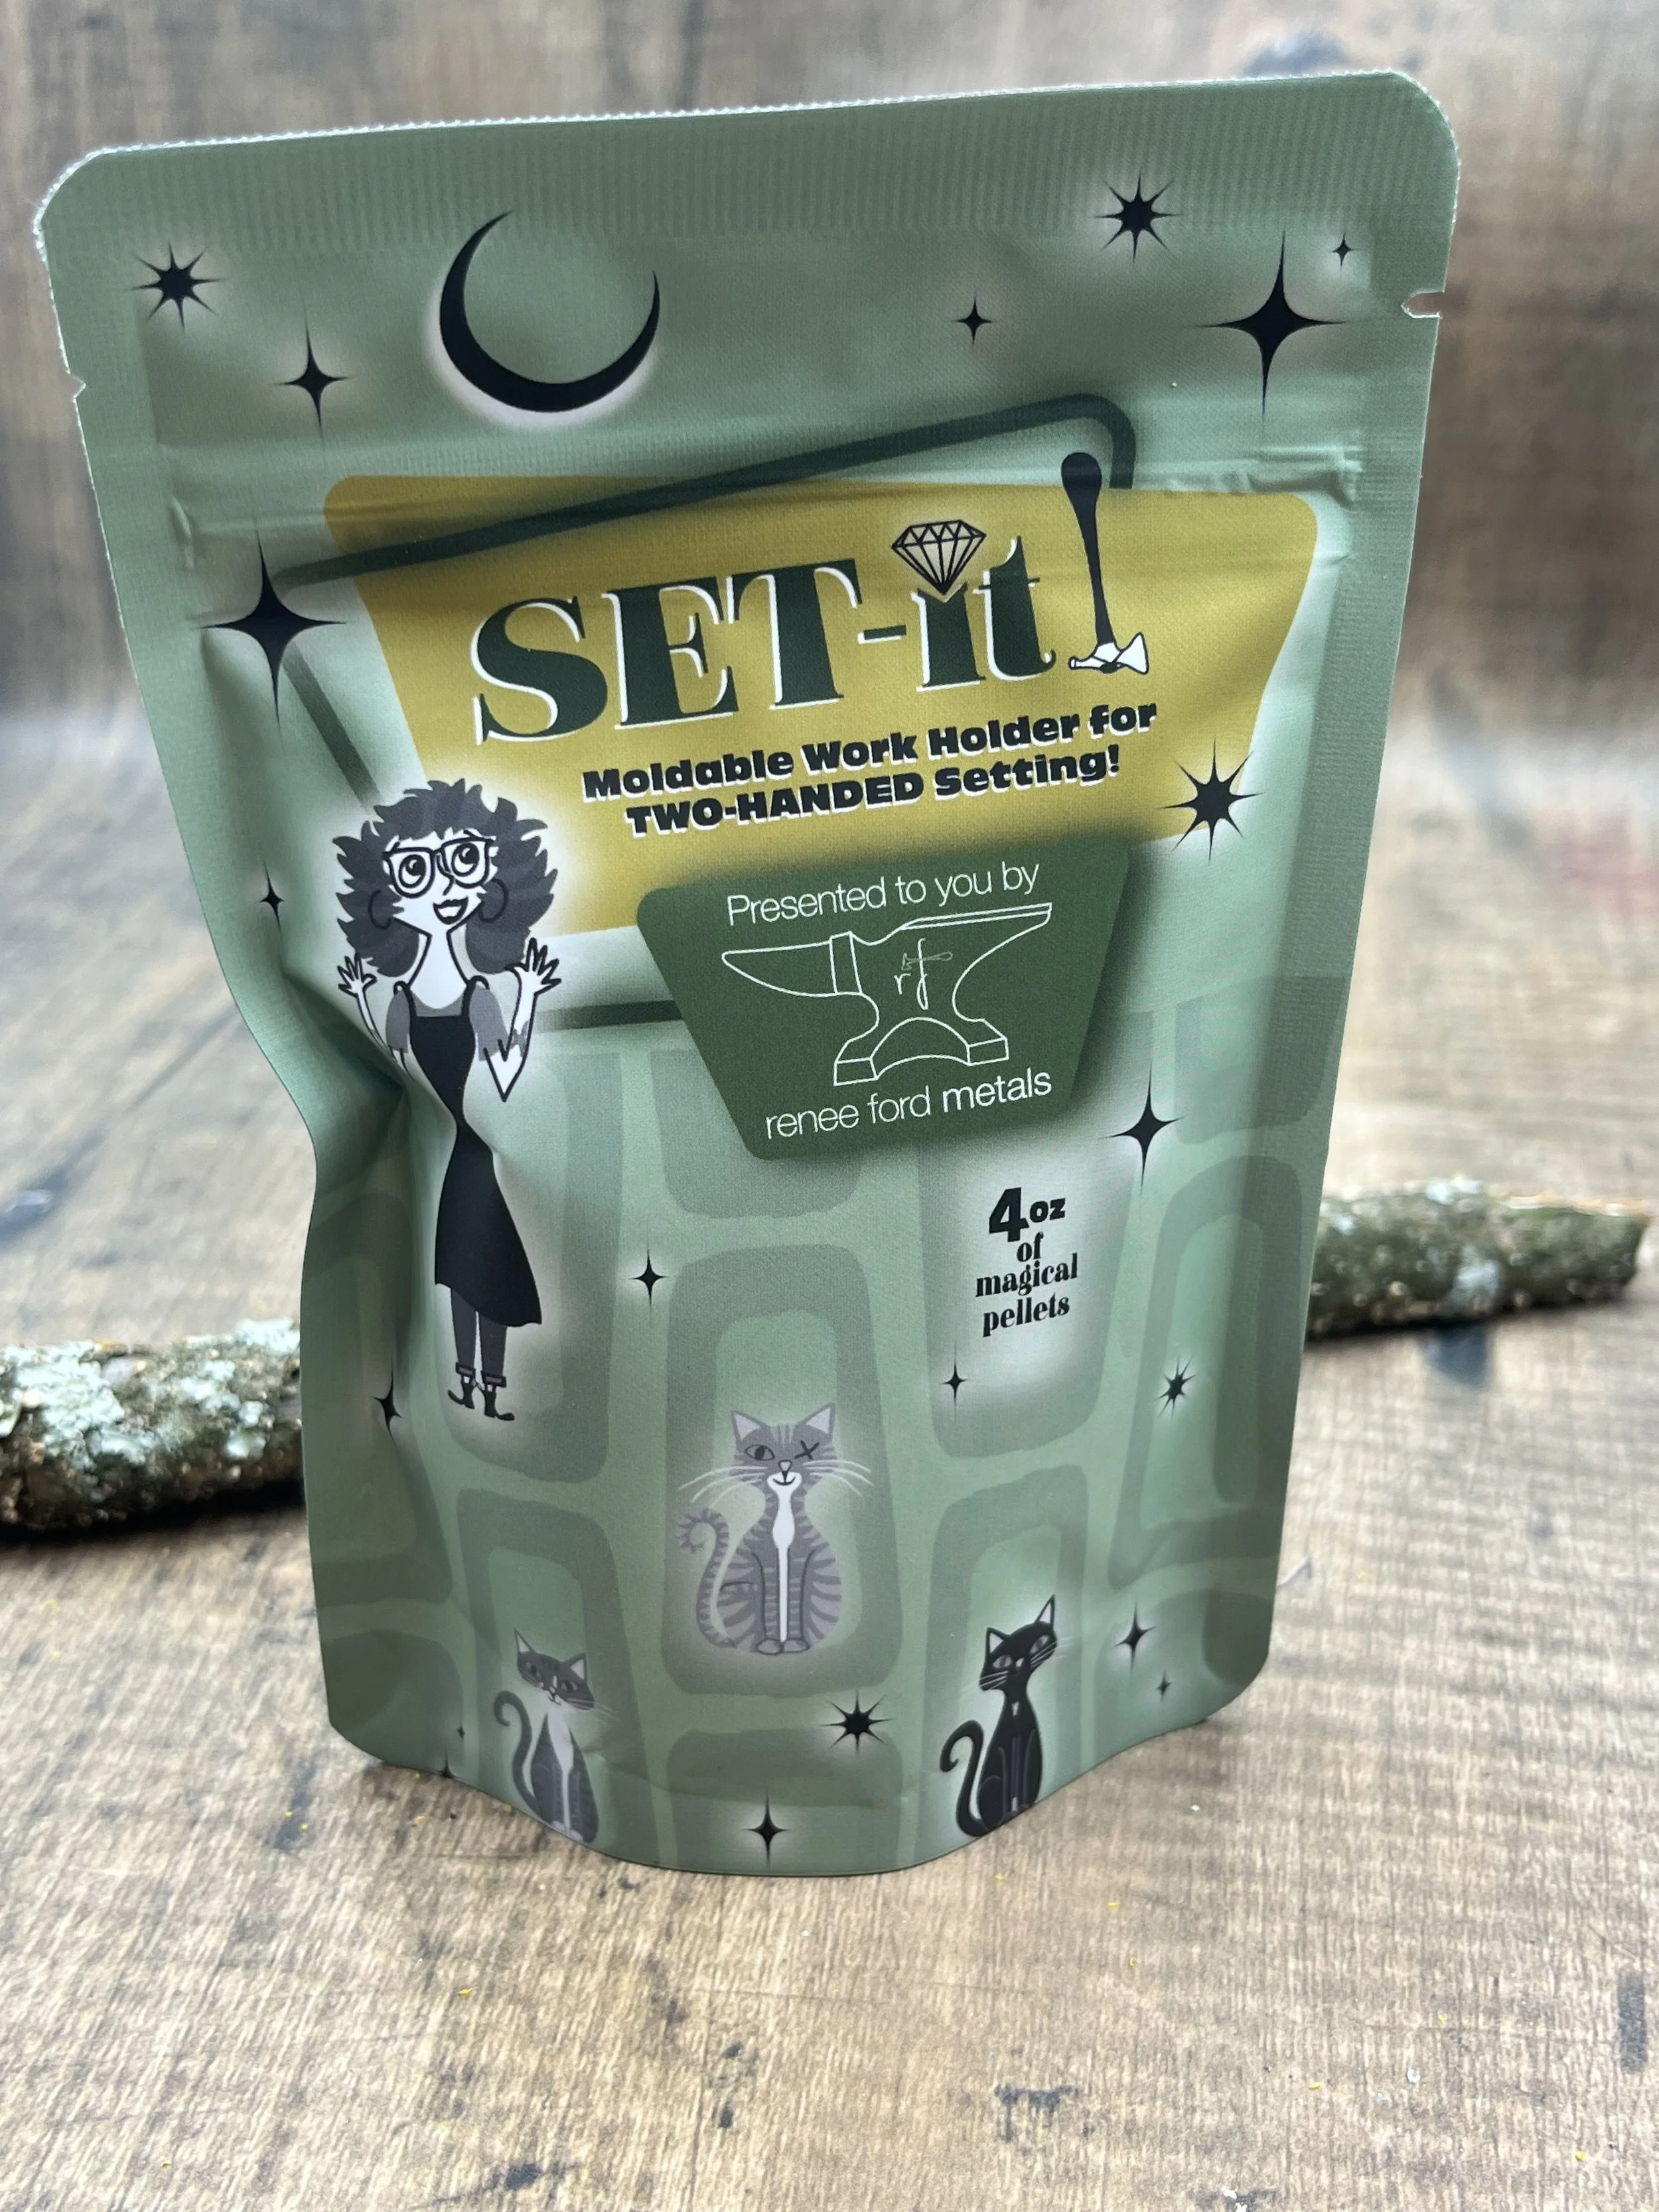
Set-It Instructions


Using Set-it! :
Set-it is a thermoplastic with many different uses for your jewelry studio. It will form around your jewelry to keep BOTH HANDS free for setting! This will allow for quicker setting, more professional-looking bezels, and greater ease in holding your work. Setting up for engraving becomes a breeze and no longer leaves you with dented edges to clean up. Create perfectly molded handles for files, too. You can even make mold impressions for working in metal clay—and so much MORE!
For Initial Use :
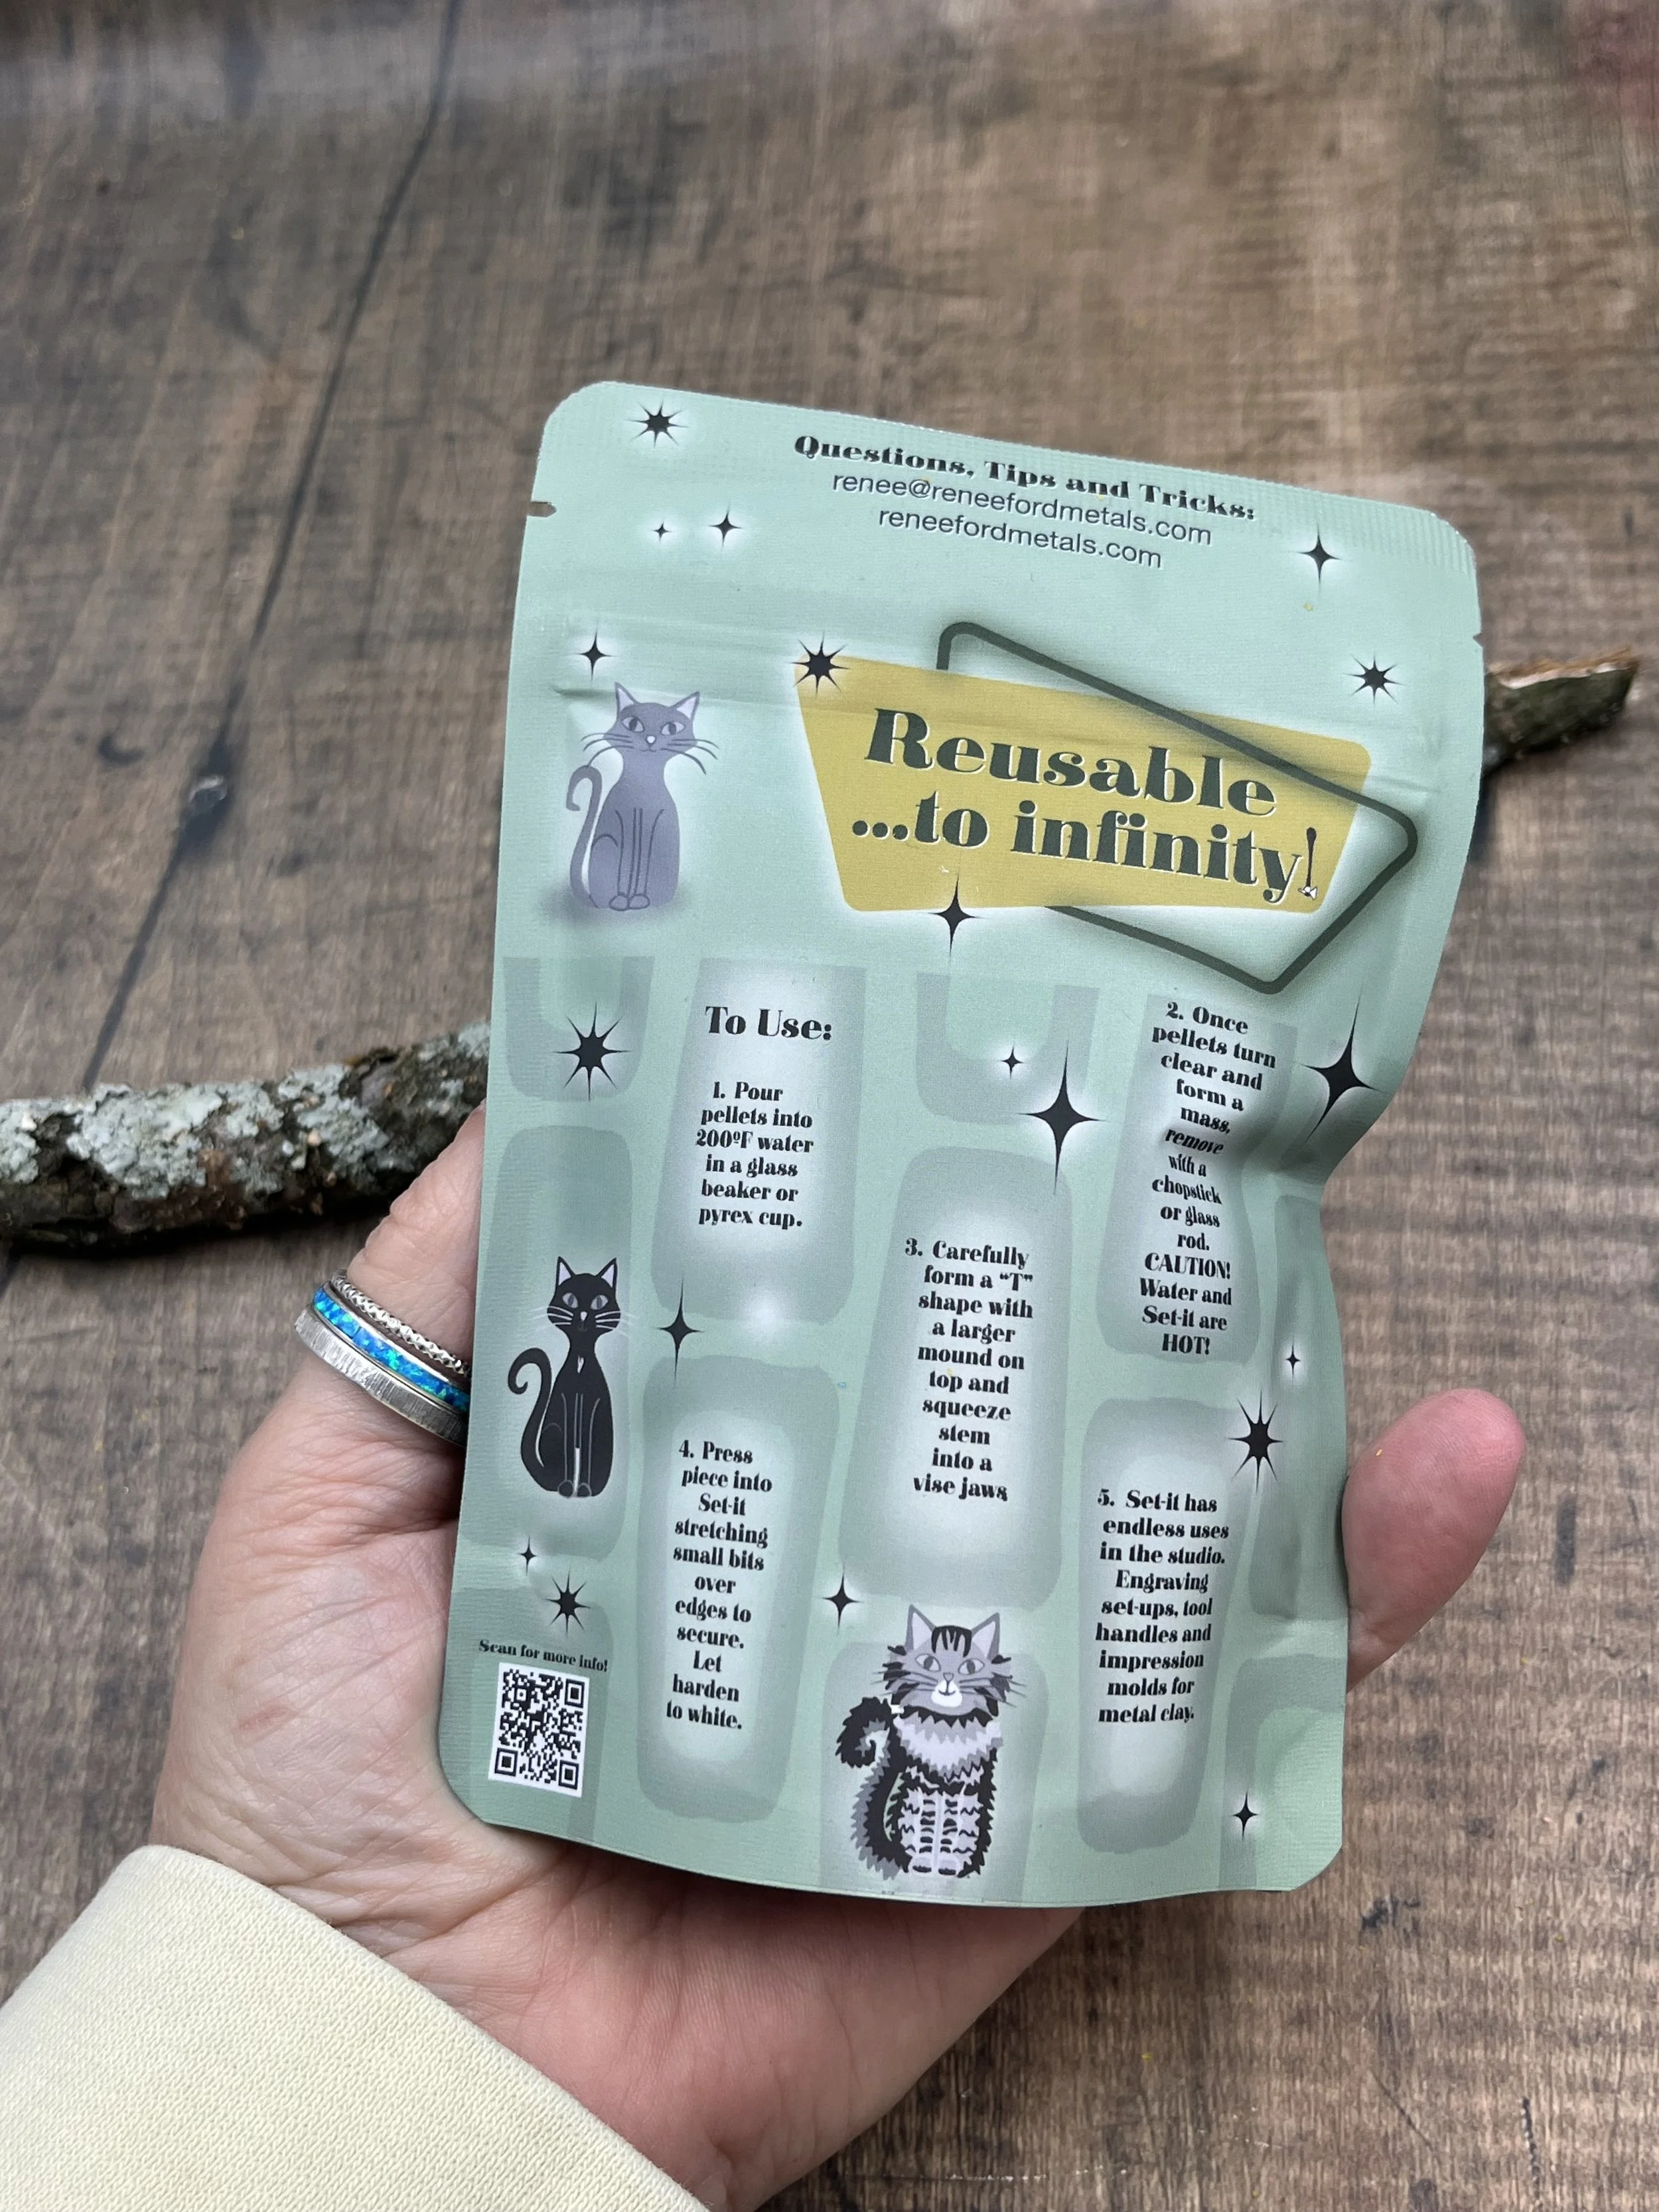
To begin, use a glass beaker or pyrex measuring cup to start forming your initial Set-it mass. Fill with one cup of almost boiling water (200º F/93ºC.) Pour in the amount of Set-it pellets you want to use for your project. It is better to start with smaller amounts until you are familiar with how much you will use. Once the pellets have turned clear, formed a mass and pull like caramel, remove Set-it from hot water with a wooden chopstick or a glass rod. Use caution, as it is HOT. Squeeze out any excess water or bubbles. Be ready to work with it quickly, as Set-it will begin to harden once the temperature falls below 140-150ºF/60-65ºC. Keep some water at 160-170º in case it hardens too quickly.
Using Directly in Ball Vise or Rotating Vise :
Form a “T” shape with the Set-it mass. The top of the “T” should have a thicker layer for forming around your piece. Close jaws on your vise to flatten the stem of the “T” shape.
Add your piece to the Set-it and press down into it. Do not bury the piece into Set-it —only push down enough to where you can start to form it around the base of your piece. You want the edges of bezels to be supported, yet accessible and above the surface of Set-it.
Stretch small bits of Set-it over the edges of earrings, pendants, ring shanks, engraving projects, or bracelets. Some part of the work should be stabilized in the Set-it so as not to pop out easily.
Once your work is complete, remove the piece simply by dropping back into water between 160º and 200ºF, or carefully using a heat gun to soften the top layer of the Set-it surface. Gently pry back the softened edges to remove. If part of your piece became significantly buried into the Set-it, the hot water method will work best to soften the whole mass to get it out. Any remaining Set-it is easily peeled off.
Once removed, you can leave in a “T” shape for the next project, or immediately place back into the hot water to soften and form into thin pancake shapes to store for next time. You can also cut the pancakes back into small pellets with scissors for storage in the bag.
Set-it is endlessly reusable by reheating. Storing it as several smaller pieces allows for quick reheating and reforming. It is normal for the reused Set-it to take on a grayish color as it gets reused. Happy creating!
Questions? Email: renee@reneefordmetals.com